
Wheel Spacers for BMW 3 G21
Affiliate disclosure. BimmerTalk is a proud partner of the Amazon Associates Program and Turner Motorsport. We may earn a small commission on qualifying purchases through our links, at no extra cost to you. Read the full disclosure.

Centric Hub Centric Wheel Spacers 25mm for BMW G05 G20 G21
Centric
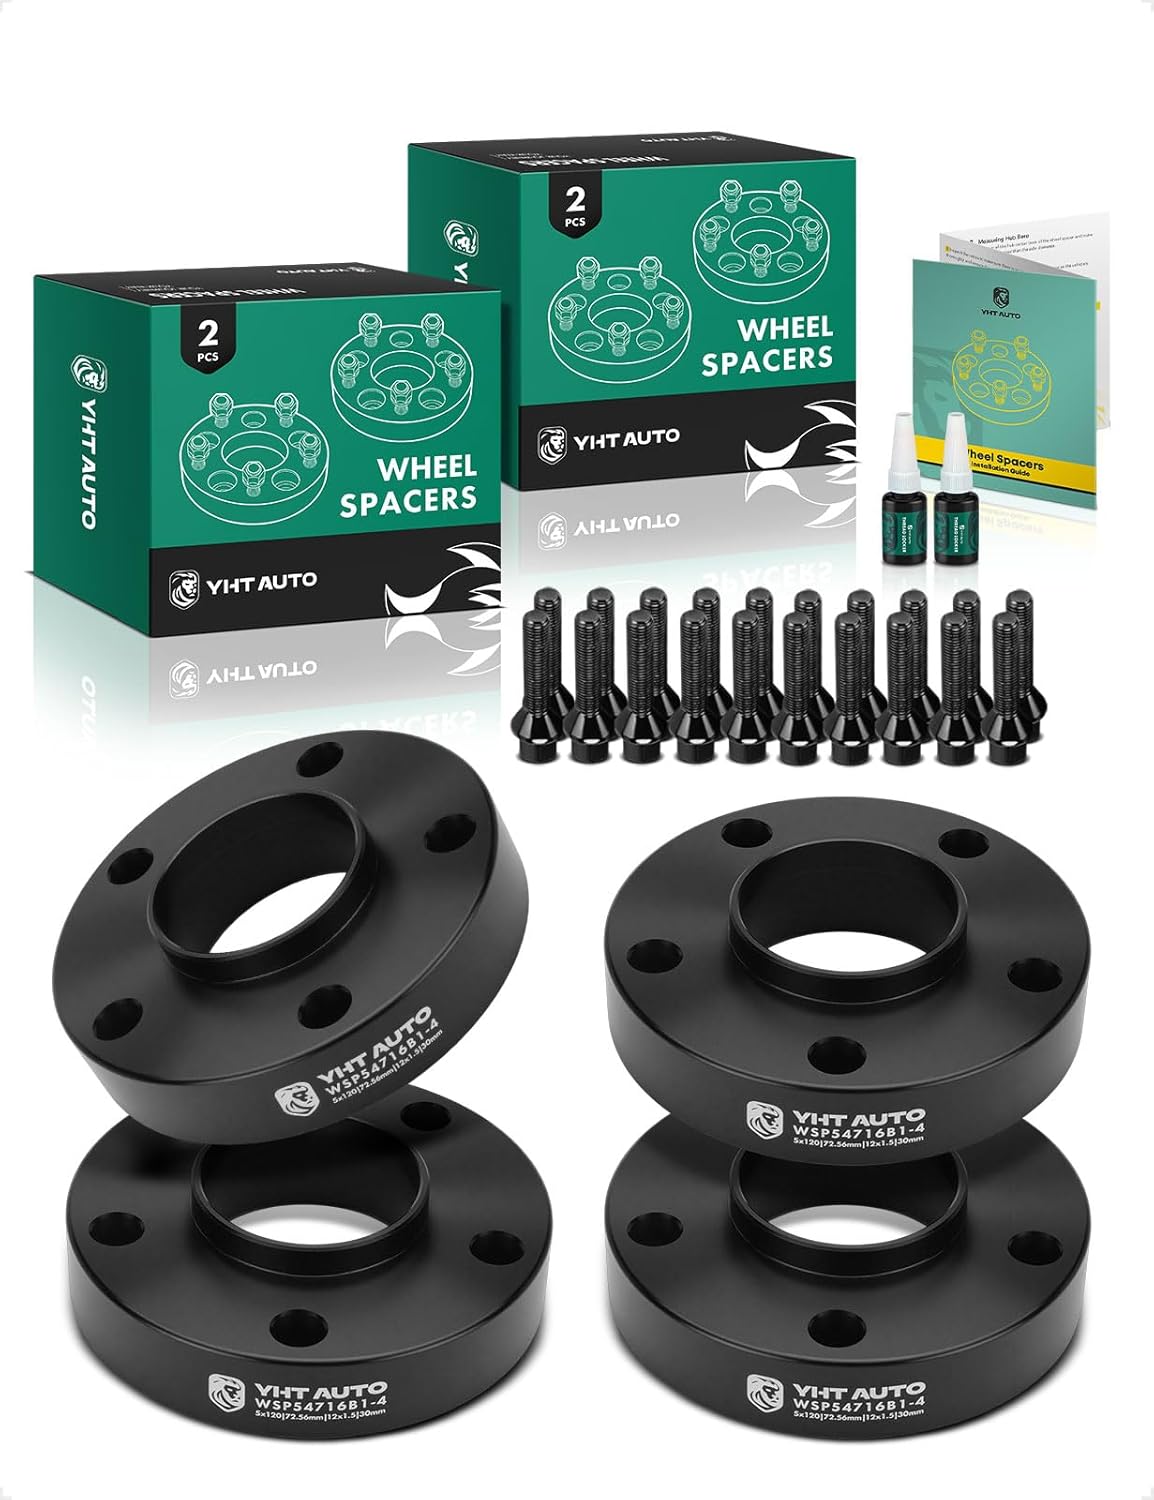
YHTAUTO 5x120 Hubcentric Wheel Spacers 30mm — BMW 5-Lug (4PCS)
YHTAUTO

ECCPP 20mm Hub-Centric Wheel Spacers 5x120 — E46/E9x/E6x (4-Pack)
ECCPP

Wheel Accessories Parts Hub Centric Wheel Spacer 30mm — 5x112
Wheel Accessories Parts

KSP 15mm Hubcentric Wheel Spacers 5x112 — G-Chassis BMW (2019+)
KSP PERFORMANCE

BONOSS Forged 6061-T6 Hubcentric Wheel Spacers 15mm — 5x112 BMW
BLOXSPORT
More wheel and tire options for the BMW G21
BMW Wheel Spacers - Get the Fitment Right the First Time
Wheel spacers are one of the most effective - and most misunderstood - upgrades you can bolt onto a BMW. Done right, they tuck your wheels flush with the fenders, sharpen steering feel, and give your build a stance that actually looks intentional. Done wrong, they'll chew through wheel bearings, throw shimmy into your steering, and potentially send a wheel across a highway. The difference almost always comes down to what you buy and how it's installed.
For most E90/E92 3 Series builds, a 10–15mm spacer on the front and 15–20mm on the rear hits the sweet spot without pushing past the fender lip. The F30/F31 platform responds similarly, though the wider factory track means you can often go slightly more aggressive - 20mm rear spacers on an F30 335i with a decent wheel offset look factory-clean. On the E46, a classic 15mm rear spacer is almost a rite of passage. Owners running the F10 5 Series and F13 6 Series frequently go 12–15mm up front and 18–20mm rear to fill those wide arches properly. For the E70/F15 X5 crowd, expect to run 20–25mm all around to get meaningful visual correction on a wider platform.
Hub-centric construction is non-negotiable. BMW's bolt pattern is 5x120 across most modern chassis, and the hub bore varies - 72.6mm is standard on E and F-series models, while some older E36 and E46 cars run 57.1mm. A spacer that centers on the lug bolts instead of the hub will vibrate. Period. Stick with brands that machine their spacers to exact BMW specs: H&R, Turner Motorsport, Spiegelburg (APEX), and ECS Tuning's house brand all offer properly hub-centric aluminum spacers with the correct bore and matched lug hardware. H&R's DRM (Direct Bolt-On) spacers in particular include extended studs already pressed in, which is the preferred setup over using separate bolt-on adapters for anything 15mm and under.
Here's what separates a safe install from a liability: torque specs and thread engagement. BMW factory lug bolts are M14x1.25. When you add a spacer, you need longer bolts - typically adding the spacer thickness plus 10–12mm of additional engagement as a minimum. Gorilla and OEM-spec lug bolts work fine; avoid cheap zinc castings from no-name kits. Torque to 103 ft-lbs (140 Nm) on most E and F-series platforms, retorque after 50–100 miles of driving. That retorque step gets skipped constantly and it's exactly how spacers develop looseness over time.
Install difficulty is genuinely low - a floor jack, breaker bar, and torque wrench is all you need. The bigger variable is corrosion. On high-mileage E-chassis cars especially, the hub surface can be pitted and uneven, which prevents the spacer from seating flat. Clean the hub face before install. Anti-seize on the hub contact surface (not the lug threads) prevents the spacer from bonding to the hub over time, which makes future removal significantly easier.
One thing to actively avoid: stacked spacers. If you're running a 10mm and need more width, buy the correct larger size. Two spacers multiplies any runout issues and adds unsprung weight in the worst way. Also skip any kit that doesn't include OEM-grade lug hardware - that's the brand telling you exactly how seriously they take the application.
If you're also reconsidering your wheel setup altogether, browse our aftermarket BMW wheels section for fitment-specific options that might eliminate the need for spacers entirely. And if you're dialing in suspension geometry alongside your track width, our BMW coilover kits page covers the ride height and camber changes that interact directly with your spacer choice.
Buy hub-centric, use proper hardware, torque it correctly, and check it again after break-in. That's the whole job.