
How to Replace Brake Rotors on BMW F30 - DIY Guide
Affiliate disclosure. BimmerTalk is a proud partner of the Amazon Associates Program and Turner Motorsport. We may earn a small commission on qualifying purchases through our links, at no extra cost to you. Read the full disclosure.
Rotor replacement on the F30 is one of those jobs that looks intimidating on first glance but is genuinely straightforward once you understand the three-step process: remove the caliper and carrier, address the T30 retaining screw, and clean the hub face before the new rotor goes on. I have done rotor replacements on F30 328i and 335i cars at every stage of wear, from perfectly timed scheduled replacements to emergency same-day jobs on cars that should have had new rotors thousands of miles earlier. The job itself is the same regardless - what changes is how much corrosion fighting you have to do on the old hardware.

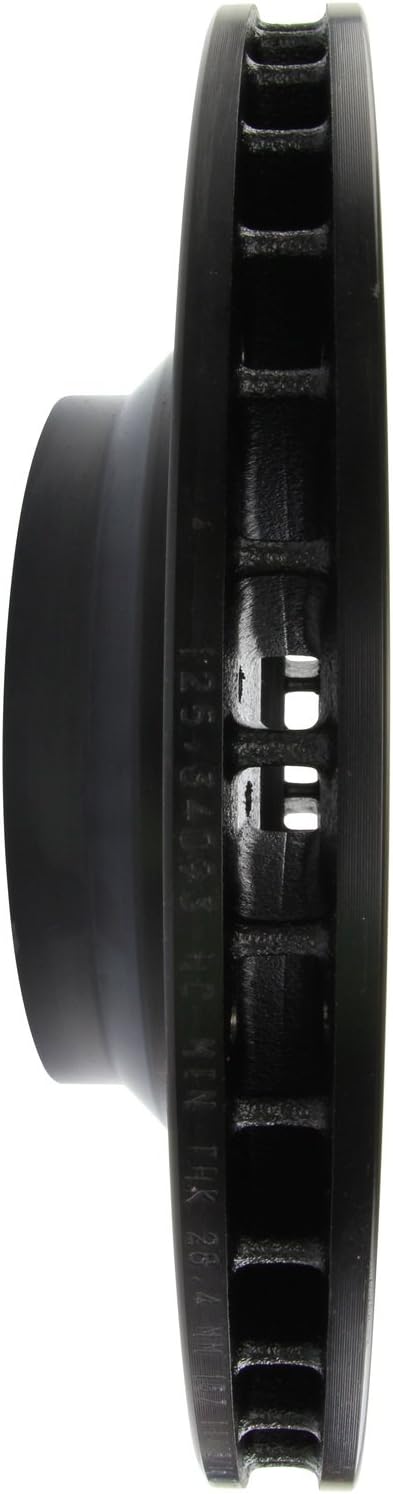
The F30 front rotors are not hub-mounted like some other designs - they slip over the wheel hub's five studs and are held in place by a single T30 Torx retaining screw threaded into the hub between two stud positions. This screw is technically a guide screw - it is used during vehicle assembly to hold the rotor in position while the wheel is being installed. Once the wheel and lug bolts are on, the lug bolts are the actual retention mechanism. But that T30 guide screw will make your life miserable if you encounter it without expecting it. I have seen DIYers spend 30 minutes puzzling over why the rotor will not come off when the caliper and carrier are already removed. The screw is why.
Rotor sizing on the F30 matters for ordering. The 320i and base 328i got 312mm front rotors. The 328i M Sport, all 335i, and 340i variants got 348mm fronts. Both sizes use the same T30 retaining screw approach and the same basic procedure, just different rotor part numbers. The rear rotors on all F30 variants are 300mm. Always verify your rotor diameter before ordering - a 312mm rotor will not fit in a 348mm caliper carrier, and vice versa.
312mm
Front Rotor Size (320i/328i base)
348mm
Front Rotor Size (335i/340i/M Sport)
300mm
Rear Rotor Size
T30 Torx
Retaining Screw
110 Nm
Front Carrier Bolt Torque
80 Nm
Rear Carrier Bolt Torque
27 Nm
Front Caliper Slide Bolt Torque
120 Nm
Lug Bolt Torque
When to Replace Rotors - Inspection Criteria
I get this question constantly: "Can I resurface these rotors or do I need new ones?" My honest answer is that resurfacing makes financial sense only on thick rotors with light scoring - if the rotor can be machined to remove the surface damage while still leaving material above the minimum thickness specification, it is potentially viable. On most F30s that have reached the point of needing brake work, the rotors are thin enough that machining is not worthwhile. A 312mm F30 front rotor has an OEM thickness of 28mm and a minimum of 26mm. If the rotor is currently at 27mm and has 1mm of scoring, machining removes at least 1mm to get below the scoring, leaving you at 26mm - right at minimum, which is not a safe starting point for the next service interval.
Replace rotors immediately if you see any of the following: lip formation at the outer edge of the swept zone (meaning the un-swept area is now higher than the swept zone, indicating significant overall wear), heat checking on the rotor face (a network of tiny cracks that look like a craze pattern in old ceramic), hard spots (dark blue or gray circular patches on the rotor face that cause pedal pulsation on every wheel rotation), or rotor thickness below minimum. Replace at the same time as pads if the rotors have more than 1mm of surface grooves or if the overall thickness is at or within 1mm of minimum - the cost of doing the job twice is always more than replacing rotors preventatively.
One F30-specific issue I see often: the 312mm rotors on base 328i cars tend to show accelerated wear compared to the 348mm rotors on M Sport and 335i variants. The 312mm rotor's smaller swept area means it handles less heat per unit area per stop. On an energetic driver, 312mm F30 front rotors can show heat damage at 40,000-50,000 miles. The 348mm fronts consistently last longer at equivalent driving styles because the thermal load is better distributed. If you have a 312mm-equipped F30 and drive it with any enthusiasm, keep this in mind when planning service.
Tools Required for F30 Rotor Replacement
Beyond the standard pad change tools (13mm slide bolt socket, 18mm carrier bolt socket, torque wrench), rotor replacement adds: a T30 Torx socket, a rubber mallet or dead-blow hammer for persuading stuck rotors off the hub, penetrating oil (PB Blaster or equivalent) for the T30 screw and the rotor-to-hub interface, a wire brush or angle grinder with a wire wheel for hub surface preparation, and brake cleaner for cleaning the new rotor before installation. For stuck rotors, a 2-jaw or 3-jaw gear puller is occasionally needed on high-mileage F30s where corrosion has bonded the rotor to the hub - the hammer approach alone sometimes is not enough.
I also recommend having anti-seize on hand for the T30 retaining screw. Just a small amount on the threads before installing the new screw makes the next removal much easier. The screw threads into aluminum on the hub, and without anti-seize, the steel screw corrodes into the aluminum over time and becomes very difficult to remove. This is almost certainly the reason so many F30 owners find their T30 screws seized on the first replacement job. Future you will thank current you for the 30 seconds it takes to apply anti-seize.
Removing the Old F30 Rotor - Step by Step
With the wheel off, remove the brake caliper and hang it. Then remove the caliper carrier - the two 18mm bolts holding the carrier to the steering knuckle. Set the carrier aside. Now you are looking at the bare rotor sitting on the hub with the single T30 Torx screw in between two wheel studs. If the screw is accessible and not seized, a T30 Torx socket on a 3/8-inch drive breaks it loose easily - it typically needs less than 20 Nm to remove. But if the screw is corroded in place (very common on F30s over 4-5 years old), use penetrating oil, let it soak for 15-20 minutes, and then try again with a fresh T30 bit seated squarely in the screw head. A stripped T30 on the hub is a significant problem - you need an extractor set and patience to deal with it.
With the T30 screw removed, the rotor should slide off the hub. On a lower-mileage car or one where the rotor was recently replaced, it typically slides off easily. On high-mileage cars, corrosion at the hub-to-rotor hat interface bonds the rotor to the hub. The solution: thread two of the wheel lug bolts into the threaded holes in the rotor hat (every F30 rotor hat has two threaded holes specifically for this purpose - BMW designed them in as jacking points for rotor removal). Thread the lug bolts in, alternating turns, until the rotor breaks free from the hub. This is the correct BMW procedure for stuck rotors. Do not hammer the rotor hat aggressively - you can damage the hub bearings with impact transferred through the hat.
Once the old rotor is off, clean the hub face thoroughly. This is the most important step in rotor replacement and the one most commonly skipped. The hub face has scale, rust, and old rotor hat material bonded to it from years of heat cycling. If you install the new rotor on a corroded, uneven hub face, the rotor hat does not sit flat, and any unevenness in the hub interface transfers to rotor runout - a rhythmic variation in the rotor's flatness as it rotates. Rotor runout causes pedal pulsation during braking, and it is the number one reason I see brand-new rotors causing pedal pulsation complaints. Clean the hub face flat with a wire brush or wire wheel until you have clean, bright metal with no raised scale. This 5 minutes of work prevents a frustrating callback.
Installing the New Rotor
Before installing the new rotor, remove the anti-rust shipping coating from the rotor friction surface. New rotors from any manufacturer (Stoptech, Brembo, Zimmermann, or OEM BMW) come coated with a rust preventative oil on the friction surfaces to prevent corrosion during storage and shipping. This coating must be completely removed before the rotor is used. Apply brake cleaner generously to both friction faces (both sides of the rotor) and wipe with a clean rag. Do this multiple times until the rag comes away clean with no oil residue. Do not handle the cleaned rotor face with bare hands - skin oils will contaminate the surface. Wear nitrile gloves for the installation.
Slide the clean rotor over the hub studs. It should sit flush against the hub face with no gap or unevenness. If it rocks or does not sit flush after your hub cleaning, the hub face needs more cleaning - there is still scale in a localized area. Once the rotor sits flat, install the T30 retaining screw with a small amount of anti-seize on the threads. Torque to 5-8 Nm - this is a guide screw, not a structural fastener, and it does not need heavy torque. Over-torquing it is how people strip the aluminum hub threads.
Reinstall the caliper carrier. The carrier bolts (18mm) are the structural fasteners that hold the entire brake assembly to the knuckle and must be torqued to 110 Nm. I use a torque wrench on every carrier bolt on every car - this is a safety-critical fastener and it is not one to estimate. Apply medium-strength threadlocker (Loctite 243 or equivalent) to the carrier bolt threads before installation. The factory used a patch-type thread locking compound on these bolts, and replacing that with liquid threadlocker ensures the bolts do not back out from vibration over time.
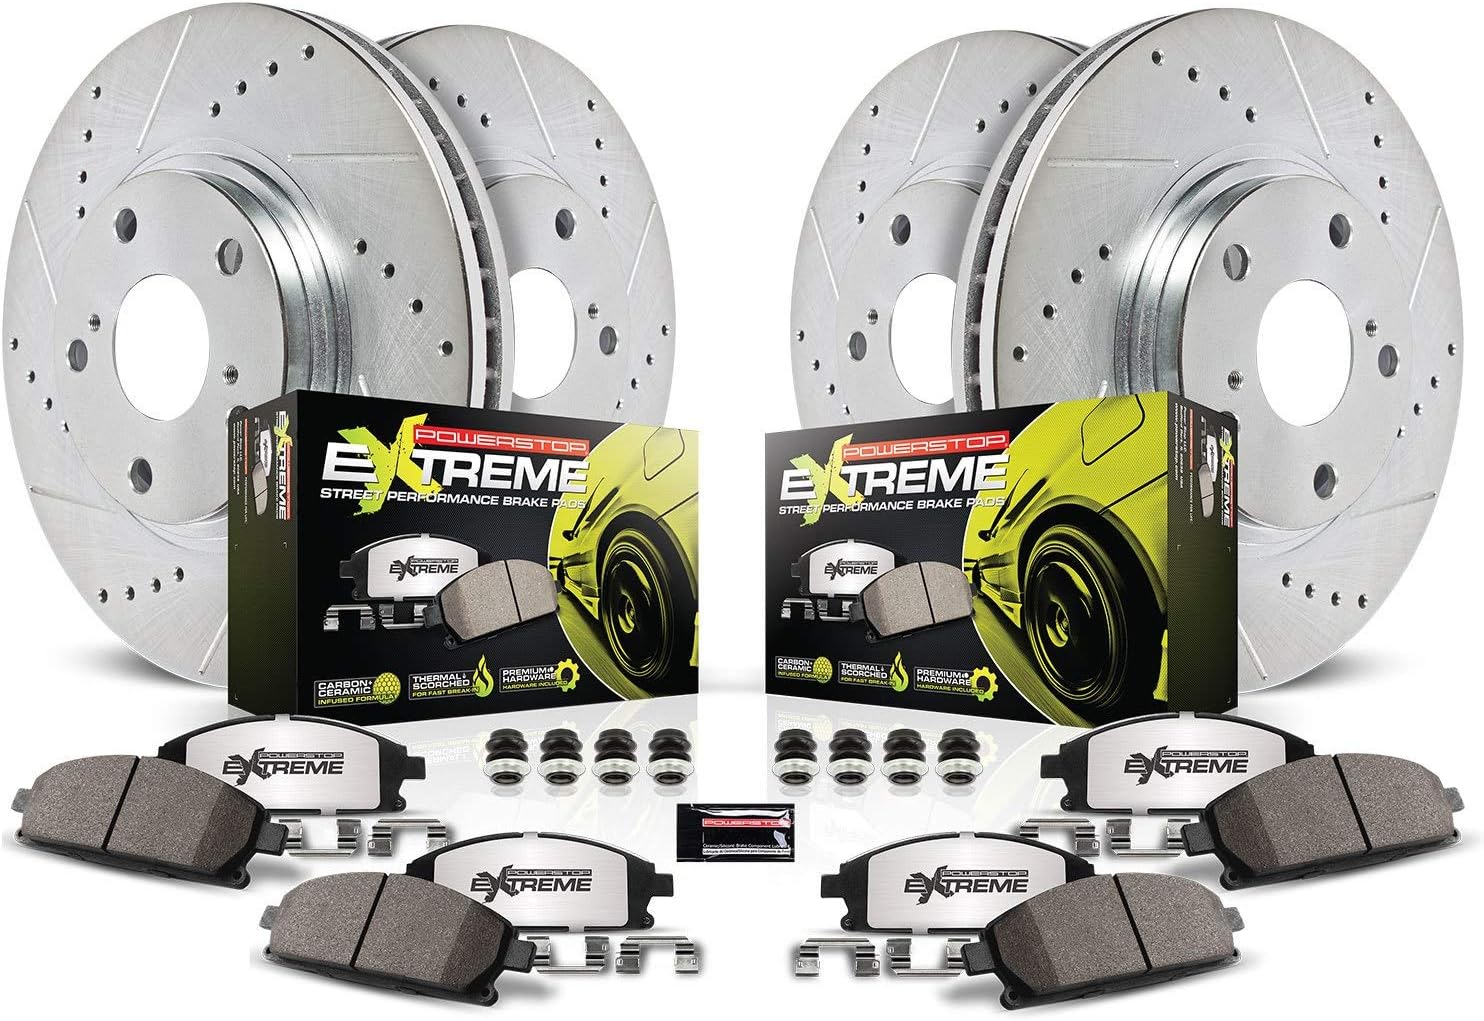
Choosing the Right F30 Replacement Rotor
| Rotor Type | Best For | Temperature Range | Estimated Life |
|---|---|---|---|
| OEM BMW (Zimmermann) | Daily driving, original spec | Standard street | 50,000-70,000 miles |
| Stoptech drilled/slotted | Street and occasional spirited driving | Medium-high | 40,000-60,000miles |
| Two-piece floating | Track use, sustained high temp | High | 70,000+ miles (iron ring replaceable) |
OEM BMW (Zimmermann)
- Best For
- Daily driving, original spec
- Temperature Range
- Standard street
- Estimated Life
- 50,000-70,000 miles
Stoptech drilled/slotted
- Best For
- Street and occasional spirited driving
- Temperature Range
- Medium-high
- Estimated Life
- 40,000-60,000miles
Two-piece floating
- Best For
- Track use, sustained high temp
- Temperature Range
- High
- Estimated Life
- 70,000+ miles (iron ring replaceable)
For a daily-driven F30 that sees highway commuting and occasional back road driving, a quality OEM-equivalent rotor (Zimmermann makes the OEM BMW rotors and sells them directly through the aftermarket) is the right choice. It is the correct specification for the car, it fits perfectly, and it will last as long as the OEM unit did. For a 335i or 340i that gets driven with more intent, a slotted or cross-drilled-and-slotted performance rotor gives you better outgassing performance under moderate heat and helps maintain pad contact consistency. The Stoptech SportStop drilled and slotted is my standard recommendation for 335i and 340i owners who drive spiritedly.
Matching the rotor to the pad compound matters for system longevity. Aggressive, high-metallic pad compounds are abrasive to rotor surfaces. Running a very aggressive track compound on a standard OEM rotor will wear the rotor faster than the pads. Match compounds to rotors - street pads on street rotors, medium compounds on medium-specification rotors, and track compounds with track-specification rotors. The pad selection guide covers the compound pairing logic in more detail.
StopTech Drilled & Slotted Front Left Brake Rotor — E90 335i/335d/X1
$203.62
Rear Rotor Replacement on the F30
The F30 rear rotor replacement procedure is the same as the front with the addition of the EPB procedure. Before removing the rear caliper, connect your scan tool and activate EPB service mode to retract the rear piston. Then remove the rear caliper slide bolts (13mm), hang the caliper, remove the rear carrier bolts (13mm), and remove the carrier. The rear T30 retaining screw is present on the rear hub as well - penetrating oil and patience if it is seized. The rear rotor lifting technique with two lug bolts in the threaded hat holes applies equally to the rear.
Clean the rear hub face with the same thoroughness as the front. Install the new rear rotor with the friction surface pre-cleaned of shipping compound. Install the T30 retaining screw with anti-seize. Reinstall the rear carrier at 80 Nm (rear carrier bolts use less torque than front due to different knuckle design). Reinstall the caliper and pads together. Exit EPB service mode. Torque rear lug bolts at 120 Nm.
Bedding Rotors and Break-In
New rotors need the same bedding-in sequence as new pads. If you are replacing both pads and rotors simultaneously (which is the recommended approach - new pads on old rotors with surface damage is a mismatch), the bedding sequence beds both at once. If you are replacing rotors on existing pads (less common, but happens when rotors heat-crack while pads still have material), the bedding sequence re-establishes the friction transfer layer on the new rotor surface from the existing pad material. Either way, the 10 moderate stops from 50 mph plus 5 firmer stops from 60 mph sequence applies.
After bedding, inspect the rotor face visually. A properly bedded rotor should show a uniform, matte gray appearance across the full swept zone (the annular area where the pad contacts the rotor). Any shiny spots in the swept zone indicate areas where the pad is not making full contact - possibly due to hub surface contamination or a slight rotor runout issue. Address this before it progresses - a glazed patch on a new rotor indicates a localized friction deficiency that will cause uneven wear and potentially pulsation over time.
Power Stop Z26 Street Warrior Brake Pad & Rotor Kit — F30/F32
$667.73


For complete F30 brake system documentation, see the brake overview, the pad selection guide, the fluid guide, and the upgrade guide for F30 big brake kit options. For stainless line upgrades on the F30, see the brake lines guide.
Power Stop Z26 Street Warrior Brake Pad & Rotor Kit — F30/F32
$667.73


